Introduction
Getting a new dehumidifier running properly involves more than choosing a corner and turning it on. Initial setup affects how efficiently the unit removes moisture, how much energy it uses, and how long its components last. In the sections ahead, you’ll learn the key steps to prepare the space, position the appliance for proper airflow, connect drainage if needed, adjust humidity settings, and check that it is operating as intended. By following a clear setup process from the start, you can avoid common performance problems and create a more stable, comfortable indoor environment.
Why Proper Dehumidifier Setup Matters
Implementing a dehumidification system requires precision beyond simply plugging a unit into a wall receptacle. Whether managing latent heat loads in a commercial facility or preventing biological growth in a residential crawlspace, correct deployment dictates the operational efficiency and lifecycle of the equipment.
A poorly configured setup forces the compressor to run continuously, driving up electrical consumption while failing to achieve the desired vapor pressure deficit. Mechanical engineers and HVAC professionals recognize that strategic commissioning mitigates premature component failure and ensures the unit operates within its designed psychrometric parameters.
Placement and moisture control
The spatial orientation of a dehumidifier directly impacts its volumetric airflow and moisture removal capacity. Compressors and fans require unobstructed intake and exhaust pathways to maintain optimal static pressure. Industry standards dictate a minimum clearance of 12 to 24 inches around all intake grills and exhaust louvers. Placing a unit tightly against a wall or in a confined corner creates micro-climates of recirculated dry air, causing the internal humidistat to register artificially low ambient humidity and cycle off prematurely.
Furthermore, placement should account for the natural convection of the space. Because humid air is less dense than dry air, strategic positioning near areas with the highest moisture ingress—such as foundation walls or unsealed penetrations—accelerates the stabilization of the environment. Elevating the unit 6 to 12 inches off the floor can also prevent the intake of heavy particulate matter and protect the chassis from potential ground-level water pooling.
Installation mistakes and warranty risks
One of the most frequent and costly installation errors occurs immediately after unboxing: failing to allow the compressor oil to settle. During transit, refrigerant units are often tilted or inverted, causing the dielectric oil to migrate out of the compressor housing and into the capillary tubes or evaporator coils. Powering the unit on immediately can result in a dry start, leading to catastrophic compressor seizure. Technicians strictly adhere to a 24-hour settling period before initiating the first startup sequence.
Ignoring this protocol not only risks a repair bill exceeding $300 to $500 for compressor replacement but routinely voids manufacturer warranties. Additionally, utilizing improper extension cords that fail to meet the amperage draw of the compressor—typically 5 to 8 amps for standard units, and up to 15 amps for commercial models—can cause voltage drops. This undervoltage condition increases thermal stress on the motor windings, triggering internal thermal overloads and risking electrical fires.
Checks Before Installation
Prior to unboxing the equipment, a thorough audit of the deployment environment is mandatory. Site conditions dictate the specific mechanical requirements of the dehumidification system, from electrical circuit capacity to thermal operating boundaries. Failing to baseline the environment often results in deploying a unit completely unsuited for the latent load.
Site conditions, room size, and temperature
Ambient temperature is a critical variable in dehumidifier selection and setup. Standard refrigerant dehumidifiers rely on cooling air below its dew point to extract moisture. However, in environments where ambient temperatures drop below 60°F (15.5°C), standard evaporator coils are highly susceptible to frost accumulation. When frost forms, the unit must divert energy to active hot-gas defrost cycles, severely degrading its moisture extraction efficiency.
If the site consistently operates below 60°F, such as in unconditioned basements or cold storage facilities, a desiccant dehumidifier or a low-grain refrigerant (LGR) unit is required. Additionally, the cubic footage of the room—not just the square footage—must be calculated to determine the necessary air exchanges per hour (ACH). A high-ceiling industrial space requires significantly higher volumetric throughput to prevent stratification.
Matching product specifications to the application
Moisture removal capacity is quantified in pints per day (PPD). However, manufacturers often rate capacity under the Association of Home Appliance Manufacturers (AHAM) standard of 80°F and 60% relative humidity (RH), or at saturation (90°F and 90% RH). Matching the AHAM rating to the specific application requires calculating the baseline humidity and the total volume of the space.
| Space Size (Sq. Ft.) | Moderately Damp (60% RH) | Very Damp (70-80% RH) | Wet / Saturated (80%+ RH) |
|---|---|---|---|
| 500 | 30 Pints/Day | 40 Pints/Day | 50 Pints/Day |
| 1,000 | 40 Pints/Day | 50 Pints/Day | 60 Pints/Day |
| 2,000 | 50 Pints/Day | 60 Pints/Day | 70 Pints/Day |
| 3,000+ | 70+ Pints/Day | 90+ Pints/Day | 130+ Pints/Day |
For spaces exceeding 3,000 square feet or those containing open water sources, commercial-grade specifications are non-negotiable. The product specifications must also align with the site's electrical infrastructure; while a 50-pint unit operates safely on a shared 15-amp, 115V circuit, industrial units exceeding 150 PPD often necessitate dedicated 20-amp or 230V circuits to handle inrush currents during compressor startup.
How to Set Up a New Dehumidifier
The physical installation of the unit translates theoretical calculations into mechanical reality. Precision during this phase ensures that condensate management systems function flawlessly and that the unit achieves its rated aerodynamic efficiency.
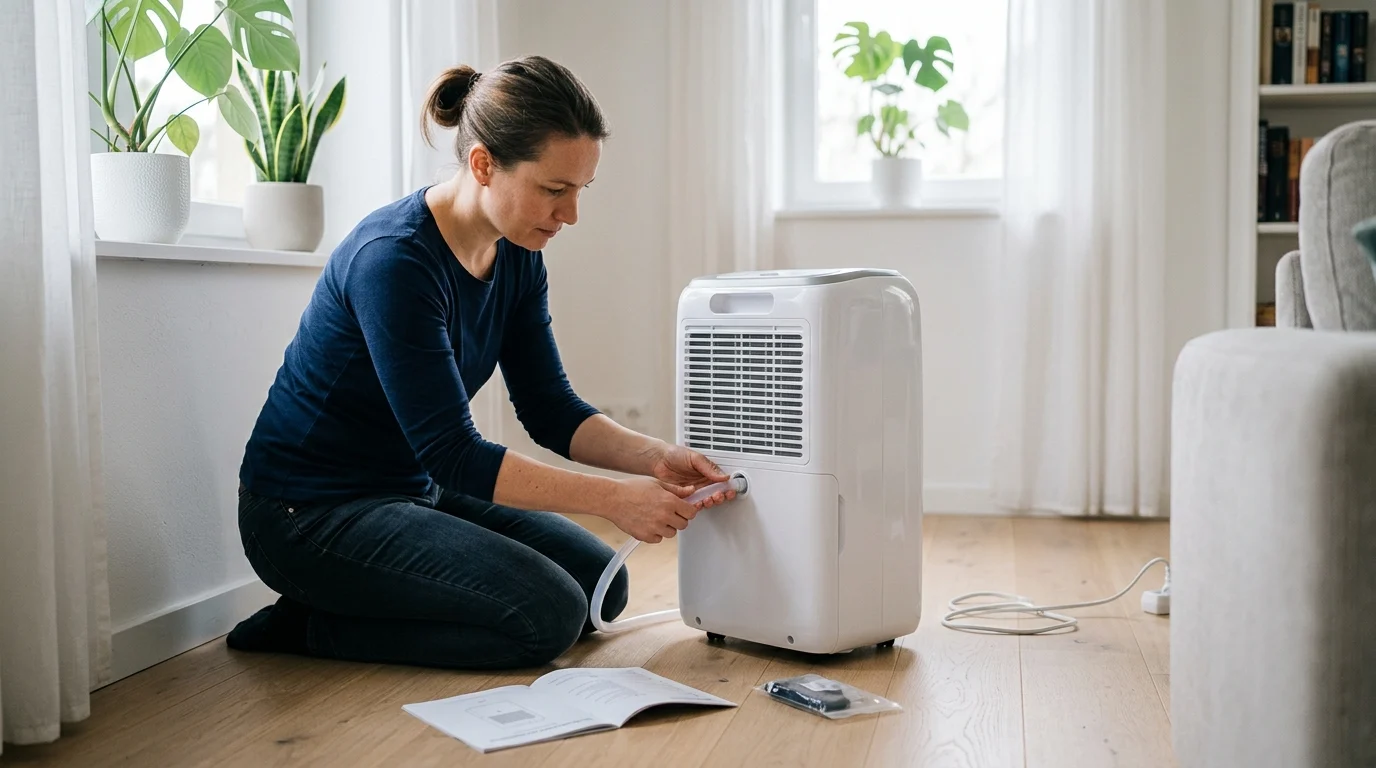
Unpacking and positioning
Upon unboxing, inspect the chassis and heat exchangers for transit damage, ensuring no fins on the condenser or evaporator coils are crushed. Positioning the unit requires strict adherence to leveling tolerances. The equipment must be leveled within a 2-degree margin; failure to do so compromises the internal drip tray's geometry. An off-axis unit will cause condensate to bypass the drain port, pooling inside the casing and eventually leaking onto the floor, which can damage subflooring or create slip hazards in commercial settings.
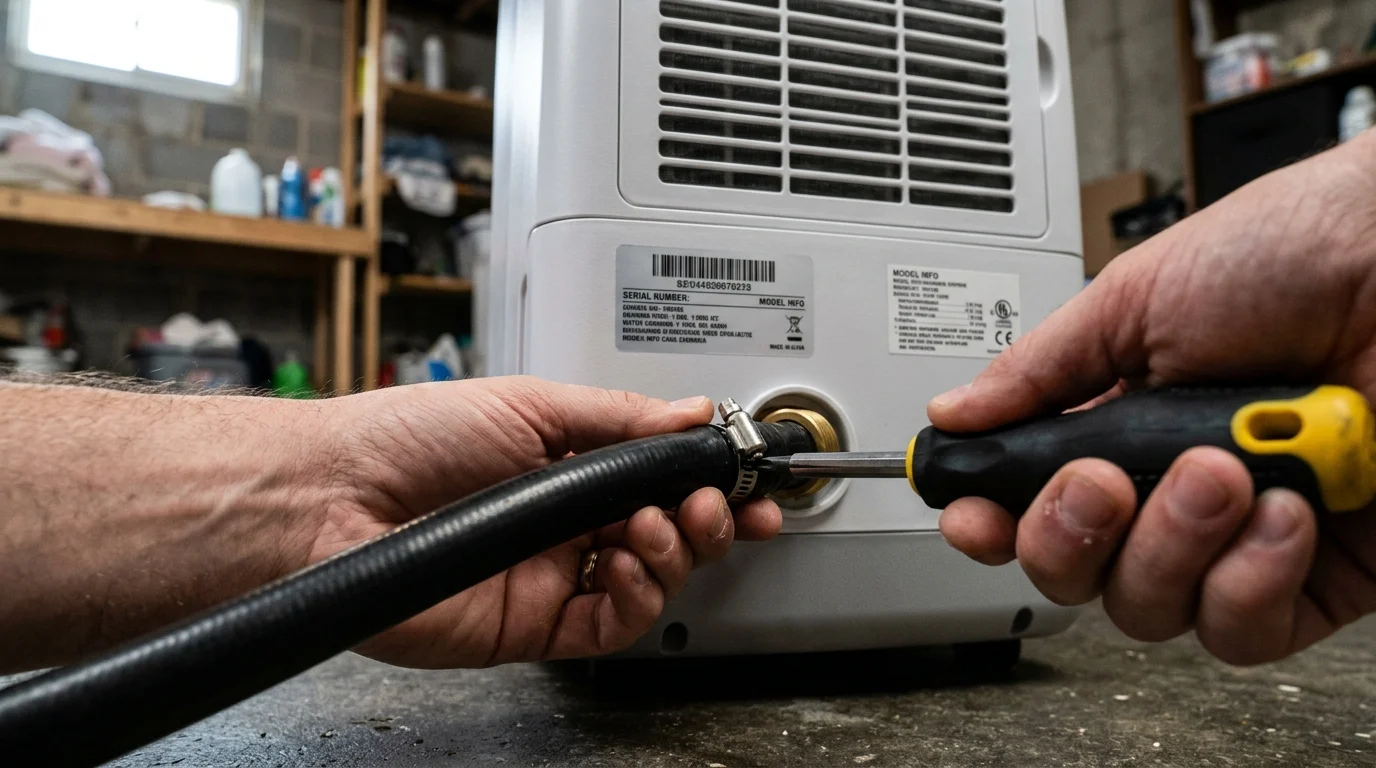
Drainage, hose routing, and pump connection
Condensate management is the most critical aspect of continuous operation. If utilizing a gravity drain, the routing hose must maintain a continuous downward pitch of at least 1/4 inch per foot. Any loops, dips, or horizontal runs lacking adequate slope will create an airlock or trap, causing water to back up and trigger the unit's internal float switch, halting operation.
When gravity drainage is impossible, a condensate pump is required. Integrated or external pumps have specific vertical lift limits, generally rated between 15 and 20 feet of head pressure. The drainage tubing (typically 3/8-inch ID) must be securely clamped to the pump discharge barb. Routing the hose beyond the pump's maximum vertical lift specification will burn out the pump motor and result in system overflow.
Startup checks and initial operation
Once mechanically and electrically integrated, the startup sequence begins. The initial setpoint on the digital humidistat should be configured to a target of 45% to 50% RH. Setting the target below 40% in a highly saturated environment immediately overworks the compressor and provides diminishing returns on moisture extraction.
During the first 24 hours of operation, the system should be continuously monitored. Verify that the compressor engages with a distinct hum and that the exhaust air is noticeably warmer than the intake air—a byproduct of the latent heat of condensation and compressor waste heat. Observe the first defrost cycle to ensure the thermistor accurately detects coil frost and initiates the fan-only or hot-gas bypass sequence as engineered.
Setup by Dehumidifier Type
Dehumidification hardware spans a vast spectrum of capacities and form factors. The installation methodology shifts dramatically depending on whether the asset is a standalone portable unit, a fully integrated whole-house system, or a heavy-duty commercial machine.
Portable, whole-house, and commercial differences
Portable units are highly localized, relying on ambient air circulation within a single room. Their setup is primarily plug-and-play, provided clearance and drainage protocols are followed. Conversely, whole-house dehumidifiers require integration into existing HVAC ductwork. This necessitates fabricating sheet metal plenums, configuring return-to-return or dedicated return-to-supply airflow pathways, and installing mechanical dampers. Whole-house units also require balancing to ensure they do not disrupt the static pressure of the primary air handler.
Commercial and industrial dehumidifiers prioritize raw extraction and durability over aesthetics. These units often feature heavy-gauge steel housings and robust LGR technology. Setup in commercial environments frequently involves hardwiring the electrical connections to comply with commercial building codes and integrating the unit into a Building Management System (BMS) for centralized environmental control.
| Unit Type | Typical Capacity (AHAM) | Airflow (CFM) | Installation Complexity |
|---|---|---|---|
| Residential Portable | 30 – 70 Pints/Day | 100 – 200 | Low (Standalone, standard 115V) |
| Whole-House Ducted | 70 – 130 Pints/Day | 250 – 400 | High (HVAC integration, ducting) |
| Commercial / LGR | 130 – 300+ Pints/Day | 400 – 1,000+ | High (Dedicated circuits, BMS) |
When a portable unit is not enough
Facility managers and homeowners often err by deploying multiple portable units to manage a space that fundamentally requires a higher-tier solution. A portable unit maxes out around 70 pints per day and lacks the static pressure required to push dry air deep into structural cavities or expansive square footage. When an environment exhibits persistent condensation on windows, swelling hardwood floors, or mold proliferation despite the presence of a portable unit, the moisture load has exceeded the equipment's capacity.
Transitioning away from portables becomes mathematically necessary when the space exceeds 2,500 square feet, when the area is subjected to continuous moisture intrusion (such as indoor pools or manufacturing facilities), or when the required airflow exceeds 300 CFM. In these scenarios, investing in the complex setup of a whole-house or commercial unit yields superior psychrometric control and lower long-term energy expenditures.
Final Placement and Ongoing Monitoring
The conclusion of the physical setup marks the beginning of the commissioning phase. Final placement adjustments and the establishment of a rigorous monitoring protocol are essential to validate the installation and ensure the equipment achieves its projected lifecycle.
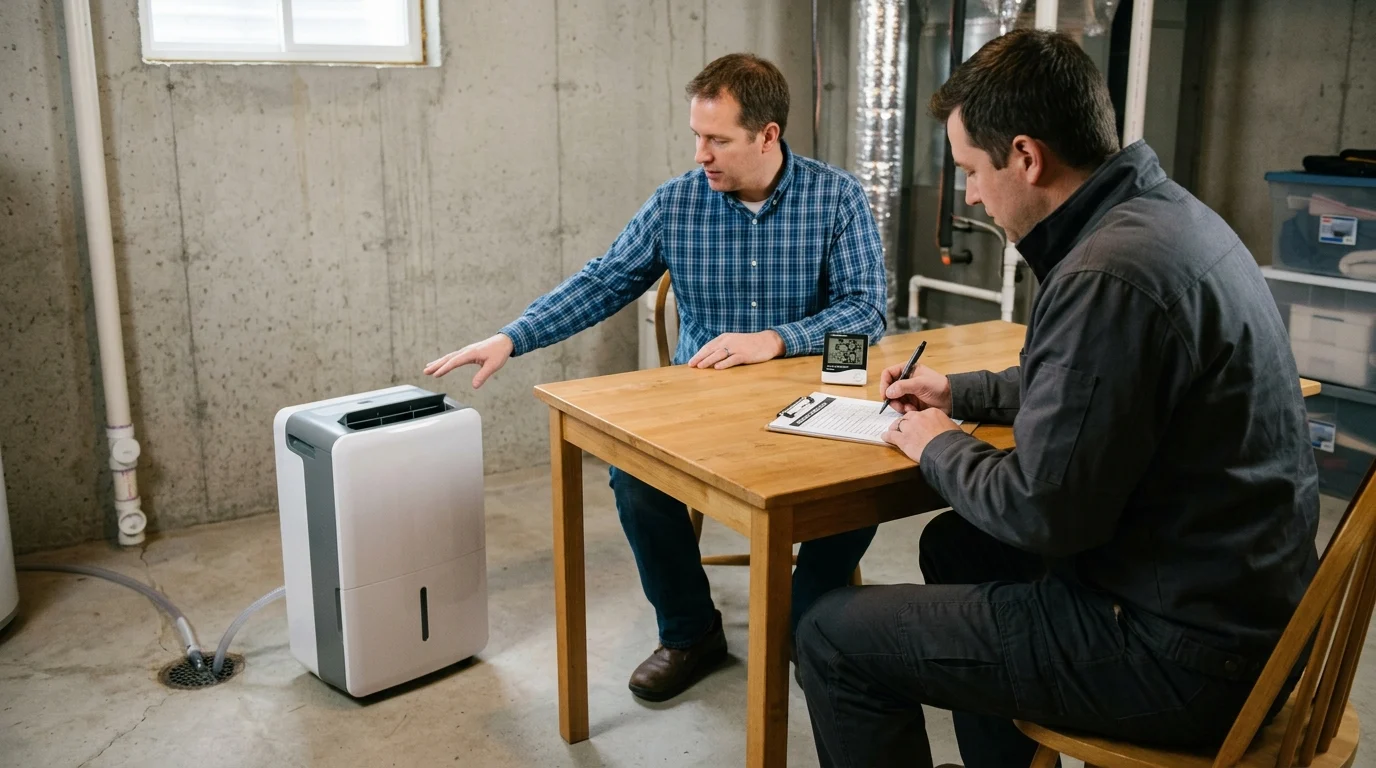
Placement and commissioning criteria
Commissioning requires verifying the accuracy of the unit's onboard sensors. Internal humidistats can be skewed by the micro-climate immediately surrounding the chassis. Technicians should place a calibrated, secondary digital hygrometer in the center of the room, at least 10 feet away from the dehumidifier. The readings between the standalone hygrometer and the unit's sensor should align within a +/- 3% RH tolerance.
If a larger discrepancy exists, the dehumidifier's placement may be restricting airflow, or the internal sensor requires offset calibration (a feature available on advanced commercial models). The unit should also be evaluated for acoustic resonance; if placed on an unyielding concrete floor without vibration isolation pads, the compressor's frequency can transmit through the structure, exceeding acceptable decibel thresholds (typically 50-60 dB for residential units).
Post-installation monitoring for reliability
Long-term reliability hinges on post-installation maintenance and monitoring. The most critical ongoing task is air filter management. Dehumidifiers rely on precise airflow metrics; a clogged filter increases static pressure, reduces CFM, and drastically accelerates coil frosting. Standard pre-filters should be washed or replaced every 30 days, while pleated MERV 8 or MERV 11 filters must be swapped every 3 to 6 months, depending on particulate loads in the environment.
Additionally, the condensate drainage system requires quarterly inspections. Algae and biological biofilms can rapidly accumulate in warm, damp drain hoses, eventually causing blockages. Flushing the drain line with a mild fungicidal solution or white vinegar ensures unobstructed flow. By tracking the unit's operational duty cycle and energy draw—ensuring it pulls its rated 5 to 8 amps rather than spiking due to a failing capacitor—operators can preemptively identify mechanical degradation before it results in a total loss of humidity control.
Key Takeaways
- The most important conclusions and rationale for setting up dehumidifier
- Specs, compliance, and risk checks worth validating before you commit
- Practical next steps and caveats readers can apply immediately
Frequently Asked Questions
How long should I wait before turning on a new dehumidifier?
Wait 24 hours after delivery or moving it upright so compressor oil can settle. Turning it on sooner can damage the compressor and may void the warranty.
Where should I place my dehumidifier for best performance?
Set it near the dampest area, with 12–24 inches of clearance around intake and exhaust. Avoid tight corners or walls that recirculate dry air and reduce efficiency.
Can I use an extension cord with a dehumidifier?
It’s best not to. Plug the unit directly into a properly rated wall outlet to avoid voltage drop, overheating, nuisance shutdowns, and possible warranty issues.
What room conditions should I check before setup?
Check room size, ceiling height, and temperature. If the space stays below 60°F, use a low-temperature/LGR or desiccant model instead of a standard refrigerant unit.
Should I raise the dehumidifier off the floor?
Yes, if the area is dusty or may collect water. Elevating it 6–12 inches can improve airflow, reduce debris intake, and help protect the unit from minor pooling.